My first lino print: rough and ready yet perfect
Lino printing combines tradition with creativity. With a few tools and a little patience, you can create unique handmade pieces. I’ve bravely tried out the technique and will show you how you can get started yourself.
I admit it – every now and then I’m really stubborn and tend to be a perfectionist when it comes to DIY projects. Especially when I get inspiration from the internet and think: «Easy! I can do that, no problem.». I should know by now that the things that look easy are usually the trickiest. Fortunately, Bob Ross already knew that happy little accidents make crafting really ... authentic.
So, once again I’m venturing out of my comfort zone: linoleum printing will always be a bit rough around the edges, especially for a beginner like me. And once you’ve carved the template, there’s no going back. Whether it’s a miscut or a slipped print – you can’t undo it. The only thing that helps is unconditional acceptance. A lesson for life.
Source: Stefanie Lechthaler
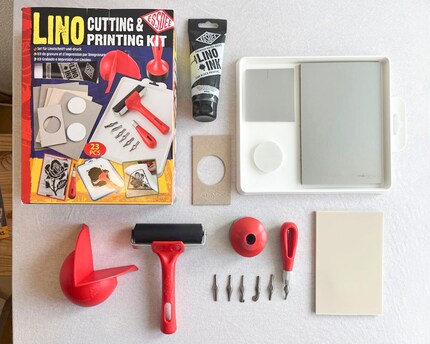
I use the starter set from Essdee for my first attempt at the handicraft. This contains linoleum and SoftCut plates of different sizes, including two round plates for stamps. You also get six different lino cutters, an ink roller, a tube of black lino ink, a hand guard and an ink tray.
Choice of plates
For the first attempt, I opt for one of the SoftCut plates. In contrast to the classic linoleum printing plate, it has a softer and more flexible surface so carving is less effort. The downside of this is that it’s less durable and can become brittle over time.
From sketch to stamp
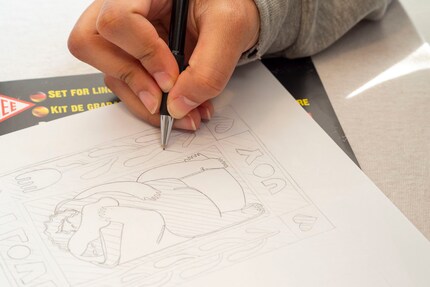
I draw my postcard motif on a sheet of paper the size of the plate. I keep in mind that the theme should be as basic as possible and ultimately end up mirror-inverted on the postcard. This is particularly important if you include text. In hindsight, I should’ve started with an even less detailed drawing, but more on that later. Simply put, if you want to avoid frustration, you should start with a very simple motif.
Source: Stefanie Lechthaler
Transfer your motif
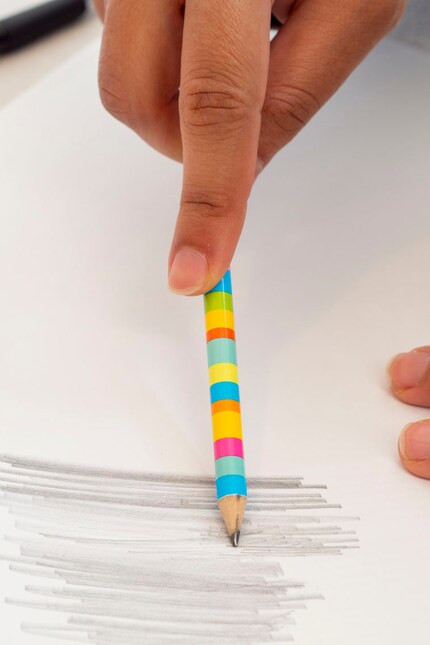
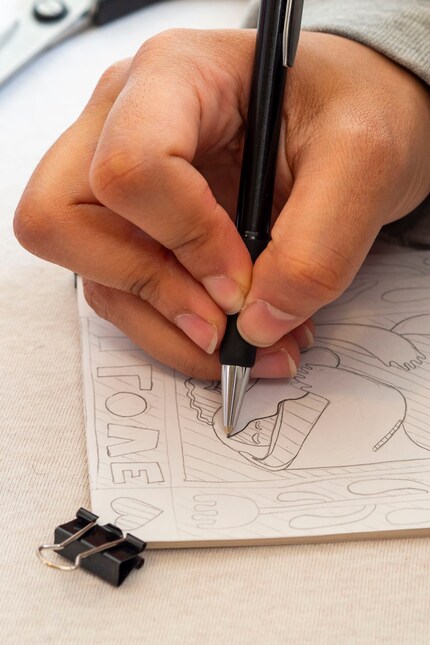
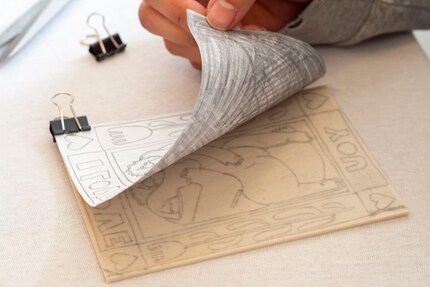
As soon as you’re happy with the motif, you pencil the entire back of the sheet and place it on the linoleum plate. Alternatively, you could place a piece of [carbon paper](/search?q=carbon paper&take=11) between the drawing and the plate. Then you transfer the motif to the plate by tracing the contours with the pencil using a little pressure.
Source: Stefanie Lechthaler
Source: Stefanie Lechthaler
The right blade
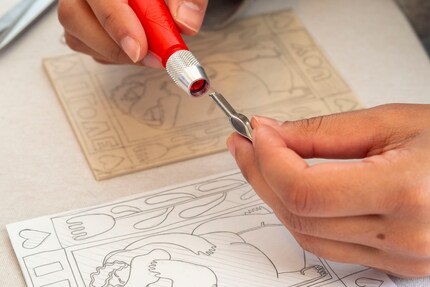
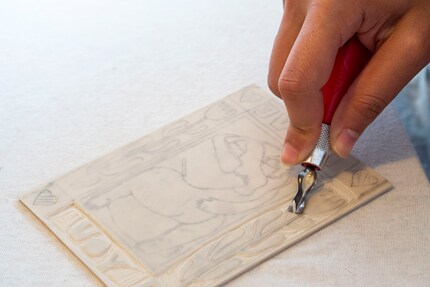
The large selection of blades is overwhelming. The set has some for wide notches and others for detailed lines. And I’m clueless. I switch up the various blades several times until I can assess how deep the cuts should be. Then I put the safety cutter in – this has two «wings» that prevent the blade from plunging too deeply into the material. From then on, everything runs smoothly.
Source: Stefanie Lechthaler
Source: Stefanie Lechthaler
Well, the majority does. I realise my motif’s more challenging than I thought. This becomes apparent when I try to follow the curved outlines of the figures. The first go at the characters works pretty well for me, the other ends in a massacre – leaving me with no choice but to carve the toes into square blocks.
Over time, I’ve really got the hang of it and can guess where I need to use which blade. Speaking of guessing, I’d clearly underestimated the seven hours it would take to complete the linocut.
I don’t use the hand guard, by the way. For children and adventurous beginners, this may certainly be useful and prevent nasty accidents. But hey ... no risk, no reward.
They see me rollin ...
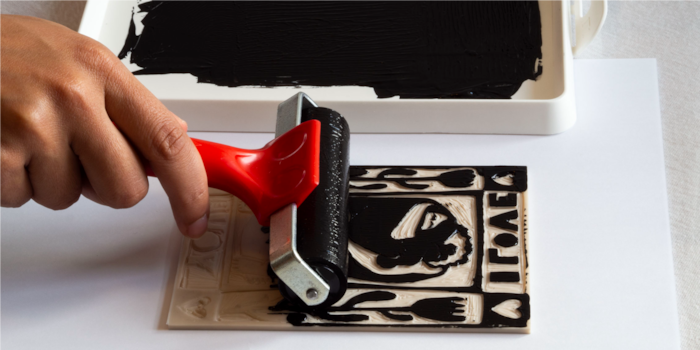
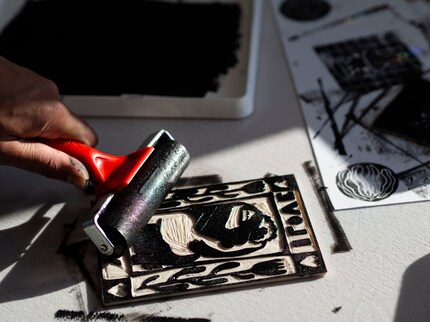
Now it’s time to print. Before painting, I check that all areas have been hollowed out according to my template. Then the template is good for printing. To do this, I place my linocut on a sheet of Plexiglas and apply a dab of black paint to the supplied roller plate. Using the roller, I spread the paint until it’s evenly absorbed.
Source: Stefanie Lechthaler
Source: Stefanie Lechthaler
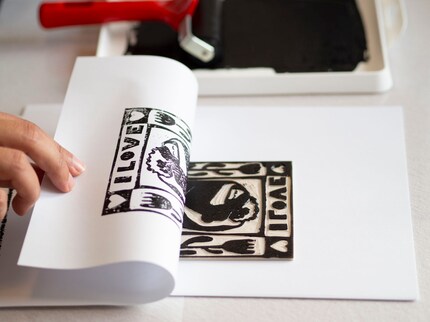
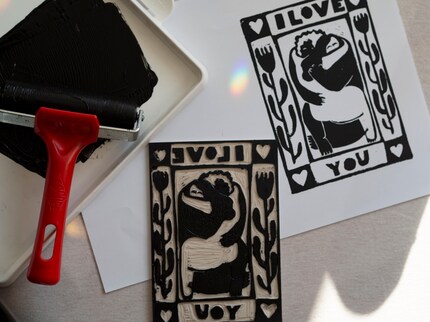
I put a piece of paper on it, press down lightly with my hand and pull it off. The first attempt already looks alright. But after the third copy, I notice that the colour’s rather uneven and translucent – different from what I’d had in mind. So I reach for the rolling pin. Not to put one over the linocut, but to press the paper more firmly onto the stencil. I already have much better results with this method. I get the best results when I wash off the paint roller and replace it with the rolling pin. Unfortunately, this process is very clumsy, so I’m going to buy a second linoleum roller for my next attempt.
Source: Stefanie Lechthaler
You can simply rinse the SoftCut plate under water. But the linoleum plate can only be wiped with a damp cloth. This shouldn’t come into contact with water for too long.
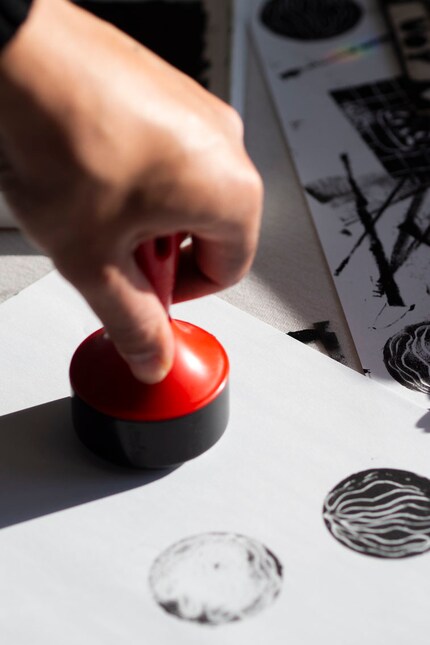
Source: Stefanie Lechthaler
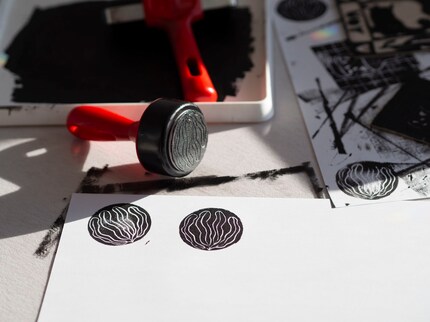
Source: Stefanie Lechthaler
Perfectly imperfect
Over time, I do get a feeling for how much paint I need to apply, when it’s too dry and when I need to clean the grooves in the linocut with a toothpick. But no two prints are ever the same. At first I’m annoyed by this, but after I cut off the edges of all of them, even the «unsuccessful» ones, I realise that the true beauty lies in the uniqueness of the motifs. How poetic.
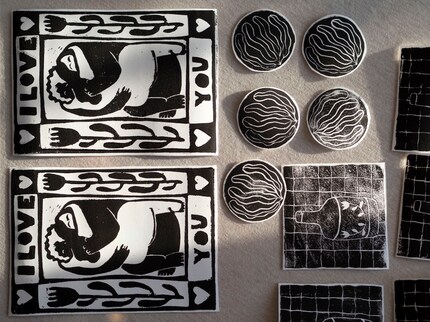
Source: Stefanie Lechthaler
Want to learn new forms of crafting and design and stay up to date with the latest DIY trends? Then follow me as an author or on the subject of handicrafts.
In a nutshell
Great starter set with everything you need
Pro
- Easy to understand
- Hand guard
- Additional safety cutting edge for easy access
- Five types of blades
- Different plates to experiment with

Painting the walls just before handing over the flat? Making your own kimchi? Soldering a broken raclette oven? There's nothing you can't do yourself. Well, perhaps sometimes, but I'll definitely give it a try.


