Background information
How to give your photographed documents a glow-up
by David Lee
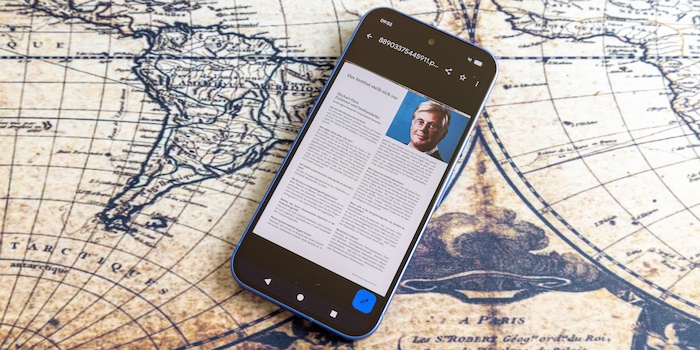
Photographed text on paper can be automatically aligned and brightened, saved as a PDF or edited using a smartphone. Usually without the need for additional apps.
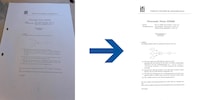
I recently wrote about how you can turn a photographed piece of paper into a high-quality digital image. If you’ve captured the document correctly, it’ll take no more than ten seconds.
But it gets even simpler than this, as most smartphones already come with automatic tools. Functions for converting to PDF and recognising text are also built into many systems. I’ll explain using the current OS version of the three most common smartphone brands: Apple, Google and Samsung. If, for some reason, it doesn’t work for you as described, there are a lot of specialised scanning apps out there, such as Genius Scan, TurboScan, CamScanner and Google Lens. The Microsoft OneDrive app also has a scan function.
iPhone: with iOS 26, there’s now the built-in Preview app, which greets you with the «Scan Documents» button when you open it. If you use this function, the iPhone will take a photo as soon as it detects the edges of the paper. The image is automatically brightened, aligned and saved as a PDF. It ends up in the iCloud by default. If you only want to save it locally, you can select this in the settings. The scan function from the Preview app can also be accessed from the Notes app.
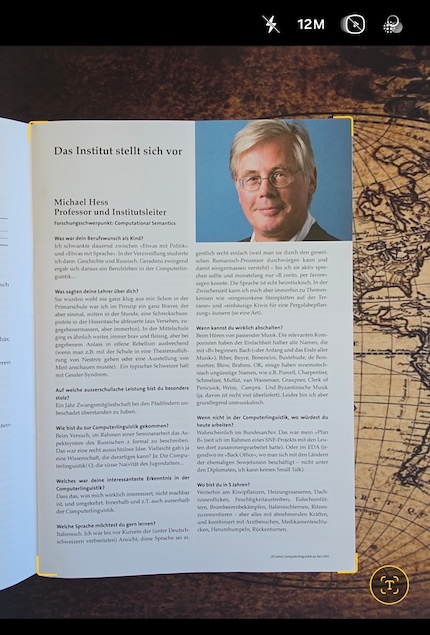
iPad: with iPadOS 26, unlike iOS, you can also access this function with the camera – which makes sense. As soon as text is recognised, a «Scan Document» button appears at the bottom.
Google Pixel: works in roughly the same way as the iPad. If you hold the camera over a piece of paper, a «Scan document» button appears at the bottom. As soon as the edges are detected, the smartphone takes a photo, aligns it automatically and optimises the contrast. Manual corrections are also possible with «Crop and rotate» and «Clean». You can use the plus icon to create a PDF with multiple pages.
Samsung: in the camera app, tap the small T icon at the bottom right. Then tap «Scan». You can adjust the edges manually if necessary. The brightness is adapted automatically, but sometimes additional manual correction is necessary. You can do this in the Gallery app by tapping the edit icon (arrow) then «Brightness».
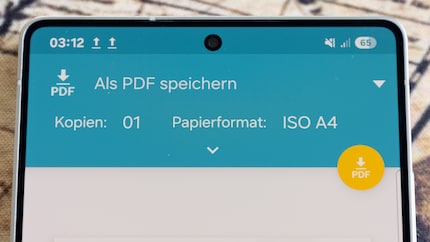
Images created using the scan function are saved as a PDF. But you can also turn any photo or printable document you can think of into a PDF. You have to open the print dialogue to do this. This is because a document is converted to a PDF when it’s printed – PDF is the format all printers understand. The trick now is not to print the document, but to save the print file.
iOS:
Android:
Before you can do anything with the photographed text, for example copying or editing it, it must first be recognised and converted by software. That’s now very simple indeed.
iPhone: the button for converting to text appears both when the photo is taken and when it’s saved if text has been recognised. The icon shows three horizontal lines, representing lines of text, and a suggested frame. For individual passages, press and hold your finger directly on the image and then move your finger over the area of text.
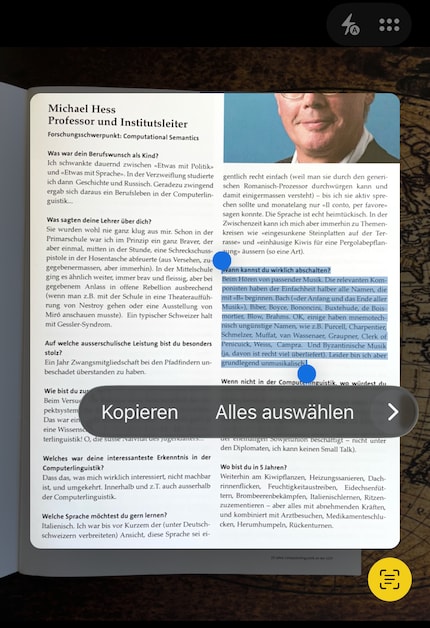
Google: open the image in the Photos app, select «Google Lens» in the menu, tap the «Select text» button, then copy the text. For PDFs, you have to press and hold the home button. Then you can select and copy text.
Samsung: the procedure is roughly the same as for the iPhone. The most important difference is the button icon shows a capital «T».
My interest in IT and writing landed me in tech journalism early on (2000). I want to know how we can use technology without being used. Outside of the office, I’m a keen musician who makes up for lacking talent with excessive enthusiasm.
Interesting facts about products, behind-the-scenes looks at manufacturers and deep-dives on interesting people.
Show all